To All Clinical Staff:
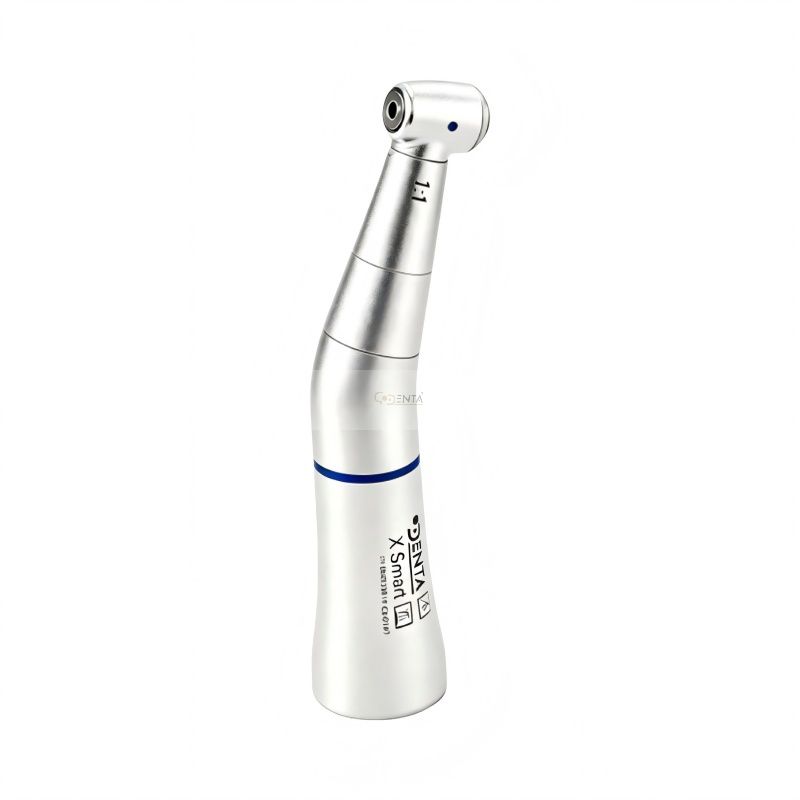
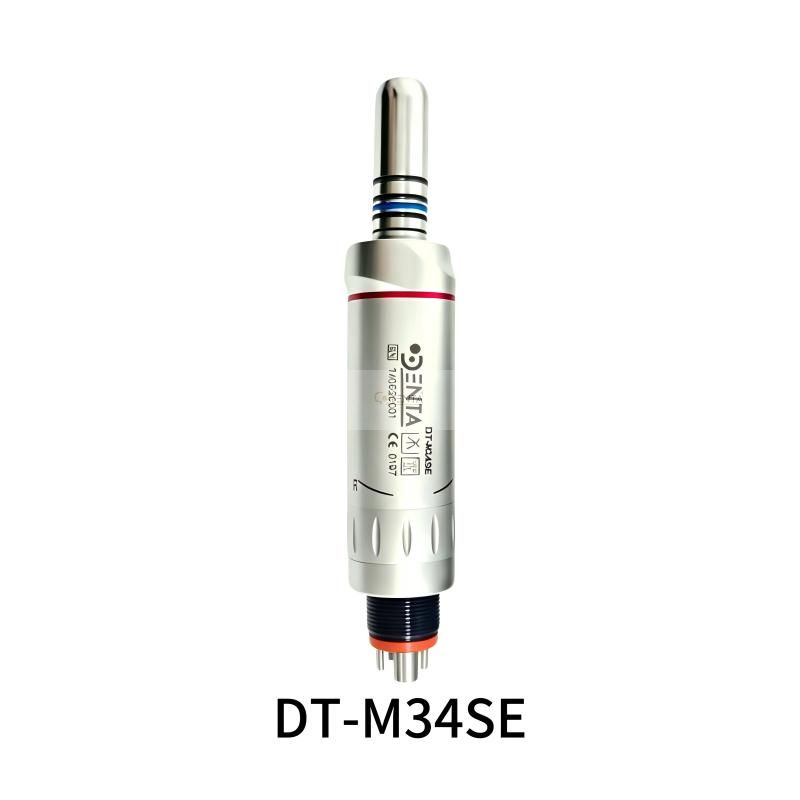
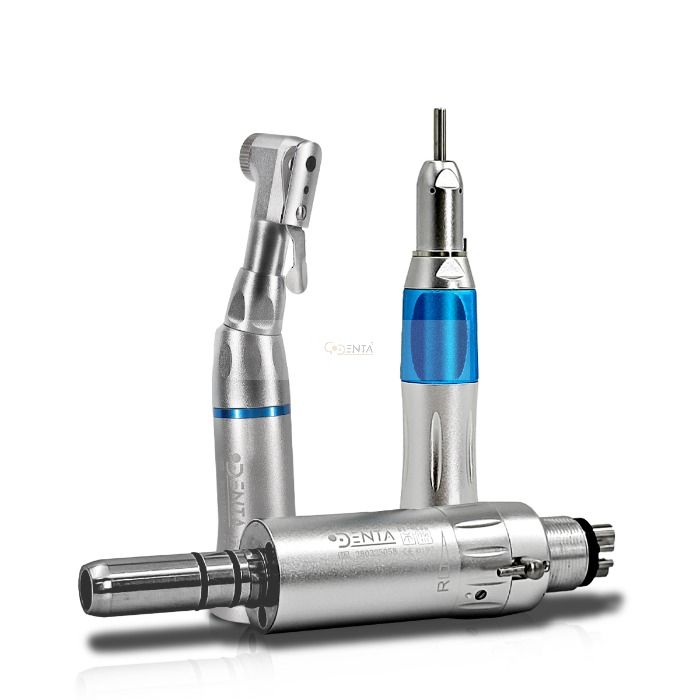
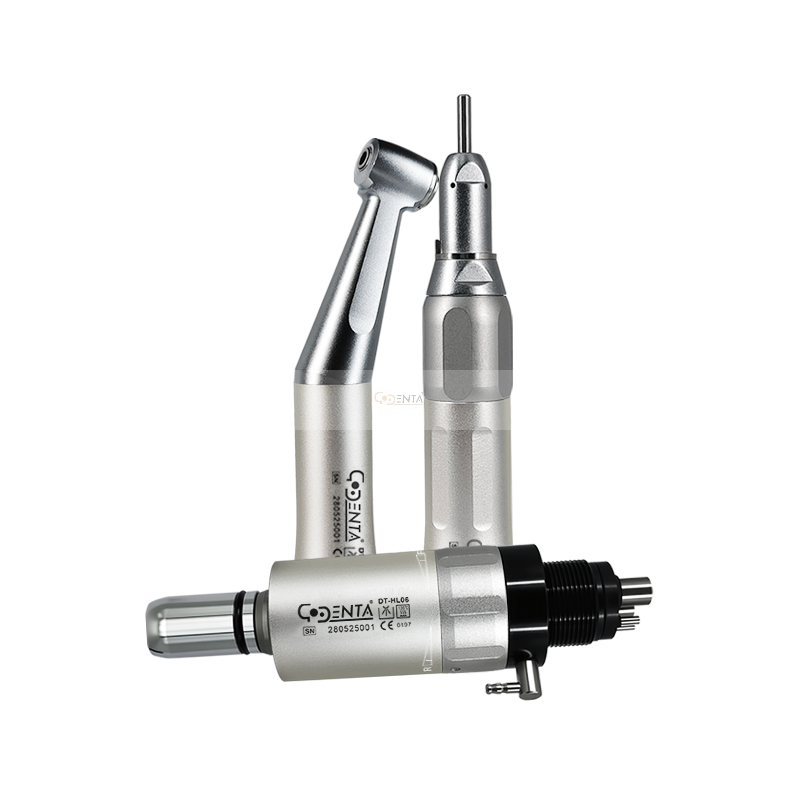
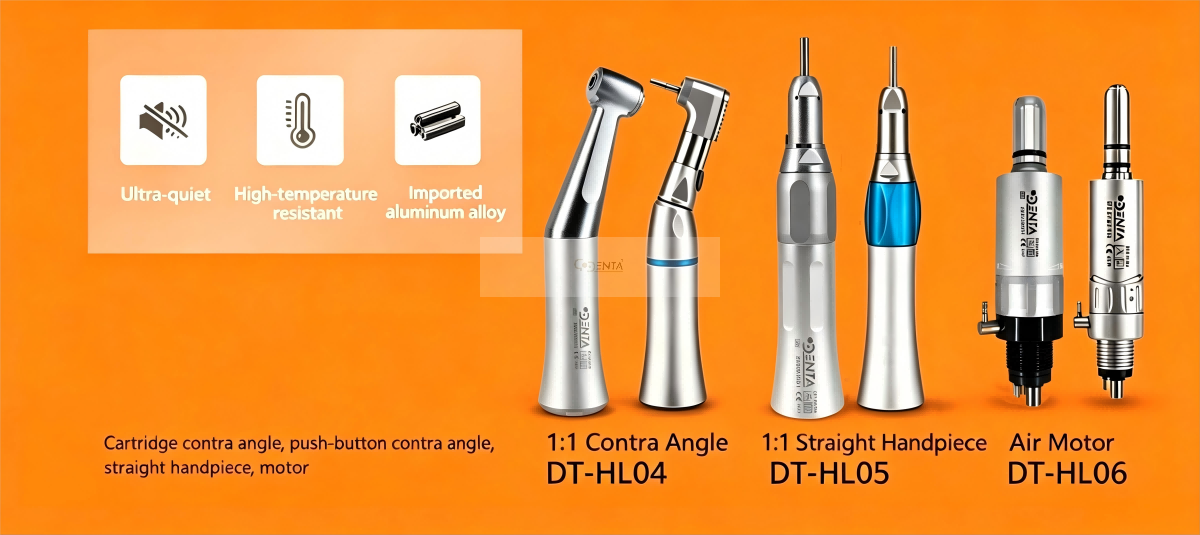
Routine attention in most dental practices focuses almost exclusively on high-speed handpieces due to their perceived sensitivity and audible operating characteristics. However, low-speed handpieces (motors with straight or contra-angle attachments) are equally critical to prophylaxis and restorative procedures. Their failure directly impacts clinical throughput.
This guide outlines failure mechanisms, correct maintenance procedures, and common errors to maximize service life and operational reliability of low-speed systems.
| Symptom | Indication |
|---|---|
| Excessive mechanical noise | Bearing or gear wear |
| Elevated housing temperature (surface too hot to touch) | Inadequate lubrication or bearing friction |
| Reduced torque / intermittent bur retention | Clutch or collet wear |
| Oil seepage or visible corrosion | Seal failure or improper lubrication |
Root cause: Insufficient or improper lubrication, contamination, or thermal damage.
Remove bur.
Wipe external surfaces with a lint-free cloth to remove biological debris and particulates.
Do not immerse in any cleaning solution.
Do not place low-speed handpieces in an ultrasonic cleaner.
Rationale: Fluid ingress damages bearings and degrades factory-applied lubricants.
Use only manufacturer-recommended, non-staining instrument lubricant.
Motor: Inject lubricant into the designated port (typically the second largest opening) for 1–2 seconds.
Bur receptacle (head): Direct spray into the bur opening.
Straight / contra-angle head: Inject into the tail port.
Mounting interfaces (2-hole / 4-hole): Light spray.
Connect to dry air line or reattach to delivery unit.
Run freely for 5–10 seconds.
Collect expelled oil with a disposable towel.
Expected observation: Discolored (dark) oil indicates contaminant removal.
Wipe excess oil (surface should not drip).
Package in appropriate sterilization pouch or wrap.
Autoclave at 134°C (273°F) with pressurized steam.
Do not use:
Flash sterilizers (temperature instability causes damage).
Dry heat or liquid chemical sterilization.
| Improper Action | Resulting Failure |
|---|---|
| Lubrication >20 seconds | Obstructed air passages; oil aerosol into patient airway |
| No internal motor lubrication | Shaft corrosion and fracture; motor total loss |
| External-only wipe of contra-angle | Dry gear operation; bearing cage failure; audible clicking |
| Sterilization without dynamic purge | High-temperature oil-water emulsion; bearing corrosion |
Wipe exterior dry.
Run handpiece for 20 seconds to clear residual moisture.
Lubricate (motor + head + interface).
Clean, lubricate, and purge all low-speed handpieces used that day.
Inspect for radial or axial play. Tag any unit with detectable looseness for service.
Disassemble contra-angle head per manufacturer instructions (use appropriate tooling).
Clean internal gear train if design permits.
Inspect and replace O-rings if leaking or deformed.
Summary: Adherence to a post-use lubrication and purging cycle is the single most effective variable in extending low-speed handpiece service life. Consistent practice eliminates unplanned downtime and reduces replacement costs.
 Sign Up To Our Newsletters

DENTA MED TECHNOLOGY SZ CO LTD is a professional dental equipment manufacturer integrating R&D, production and marketing. It is located in Shenzhen, China. The company is committed to the development of the dental industry. We own a core brand "DENTA", mainly providing dental Handpieces, Endor Motor, Files and some other dental instruments; And dental SPART PARTS like Autoclave Door Gaskets, dental Handpiece Tubes, Week/Strong Suction Tubes, Connectors, and so on. We always provide customers with good products, technical support and sound after-sales service. Our products find a good sale in all parts of the world won trust and high opinion from customers. In the future, our company will continue to strengthen the technical strength, dedicated to provide users with high-performance products and high-quality services.
Tel : +86 18123816617
Email : sales2@denta10.com